Master the Art of Canning
Discover the joy of preserving your own pickles with our step-by-step guide. Perfect for beginners and seasoned canners alike!
Why Canning?
Preserve the local seasonal flavours and enjoy homemade pickled vegetables all year round.
Health Benefits
Learn how canning can help you control ingredients and ensure you’re eating healthy, nutritious foods.
Step-by-Step Canning Guide
Follow these simple steps to start canning vegetables that have your desired flavor profile at home.
1
Gather Your Supplies
Collect jars, lids, canning or soup pot, tongs, chopping board, knife, your fresh produce, brine ingredients and seasonings.
2
Prepare Ingredients
Wash and cut your vegetables. Prepare prepare your brine or pickling solution. Sterilize your containers/ jars.
3
Fill and Seal Jars
Portion your prepared vegetables and seasonings into jars, add the brine, and seal lids. Place filled jars in the water bath for 15 min.
FAQs: Pickle Canning Process
What equipment do I need to start canning?
To start canning, you’ll need jars, lids, a large pot, a jar lifter, a funnel, and a bubble remover such as a wooden skewer.
How long do canned pickles last?
Properly canned pickles can last up to a year when stored in a cool, dark place. Always check the seal and quality before consuming.
Do I need to sterilize my jars before canning?
Yes, sterilizing your jars is crucial to prevent contamination. Wash jars in warm soapy water and boil jars for at least 10 minutes before intended use.
How do I know if my canned food is safe to eat?
Check the seal, look for any signs of spoilage like mold or off smells, and ensure the lid is concave. When in doubt, throw it out.
Can I adjust the seasoning in the recipe?
Absolutely! Customize your pickles with your favourite seasonings—try adding red pepper flakes for heat, extra sugar for sweetness, or spices like mustard seeds for a unique twist.
What is the best way to store canned goods?
Store canned goods in a cool, dark place. Avoid areas with temperature fluctuations, like near stoves or in direct sunlight.
Homemade Pickles
12 x 250mL Servings
45 min Preparation
15 min Cook
Ingredients:
For the Brine:
- 1 liter water
- 750 ml pickling or regular vinegar
- 1/3 cup pickling salt
- 1/3 cup sugar
For the Pickle Contents:
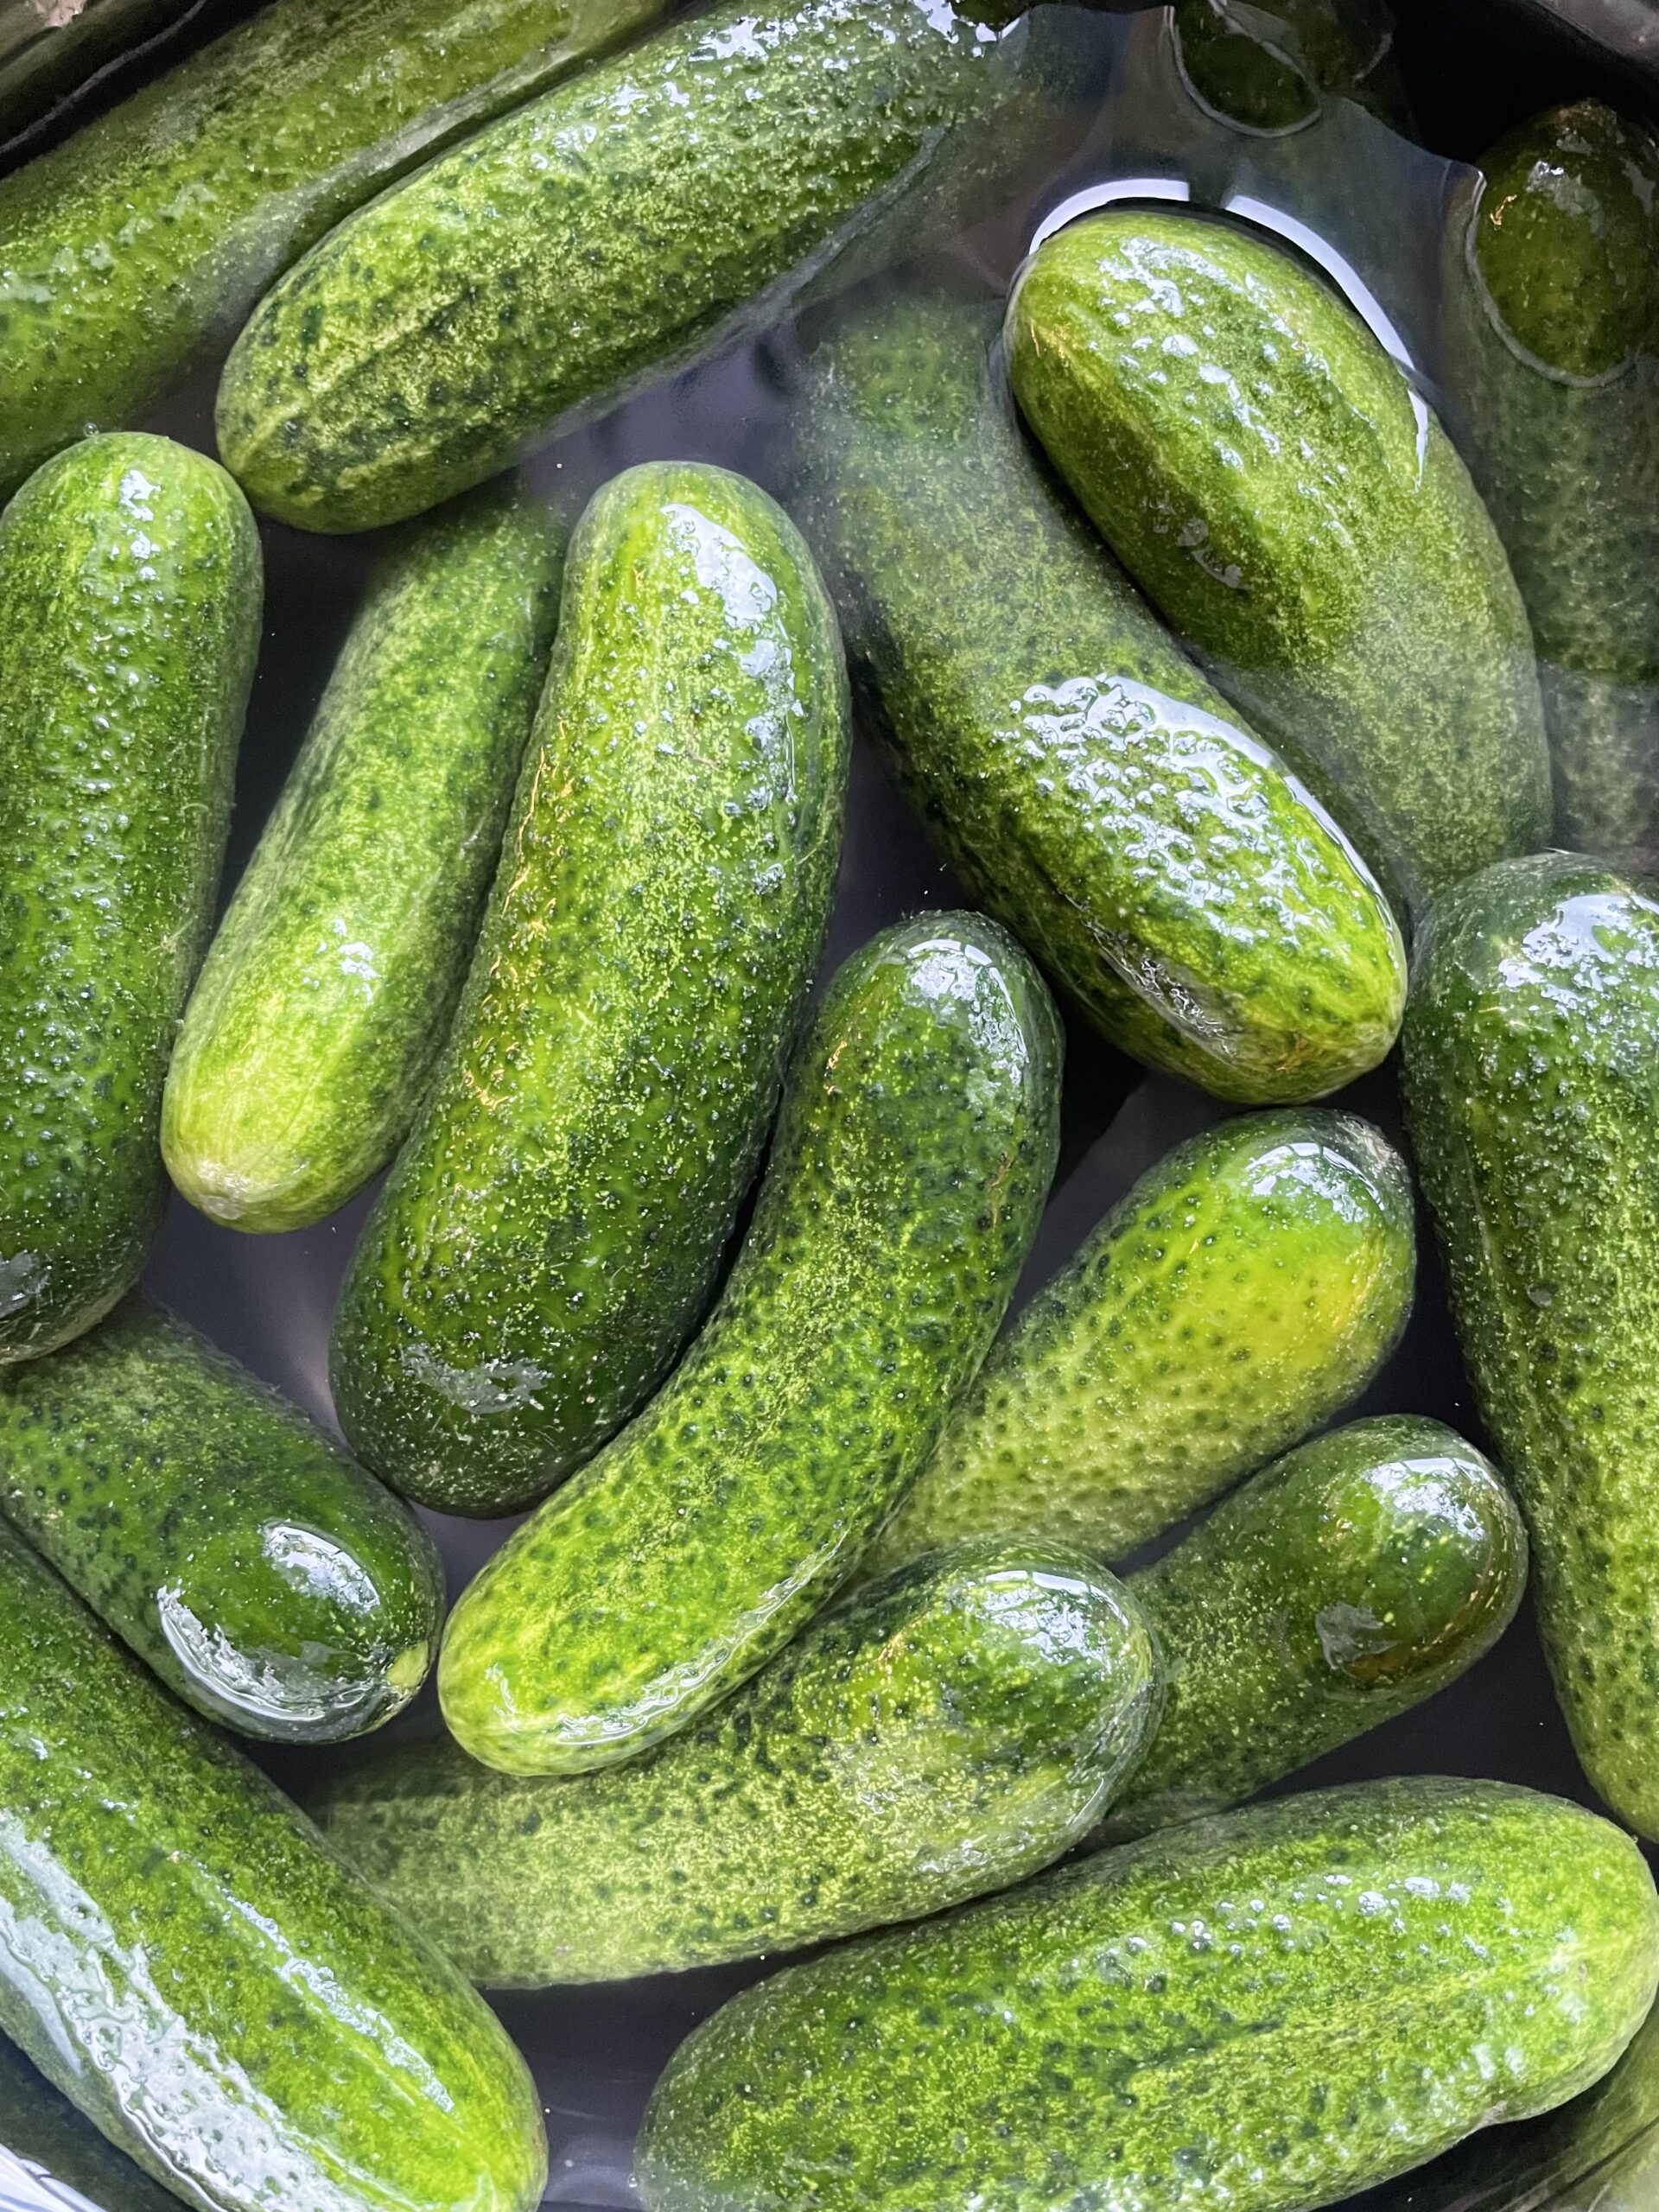
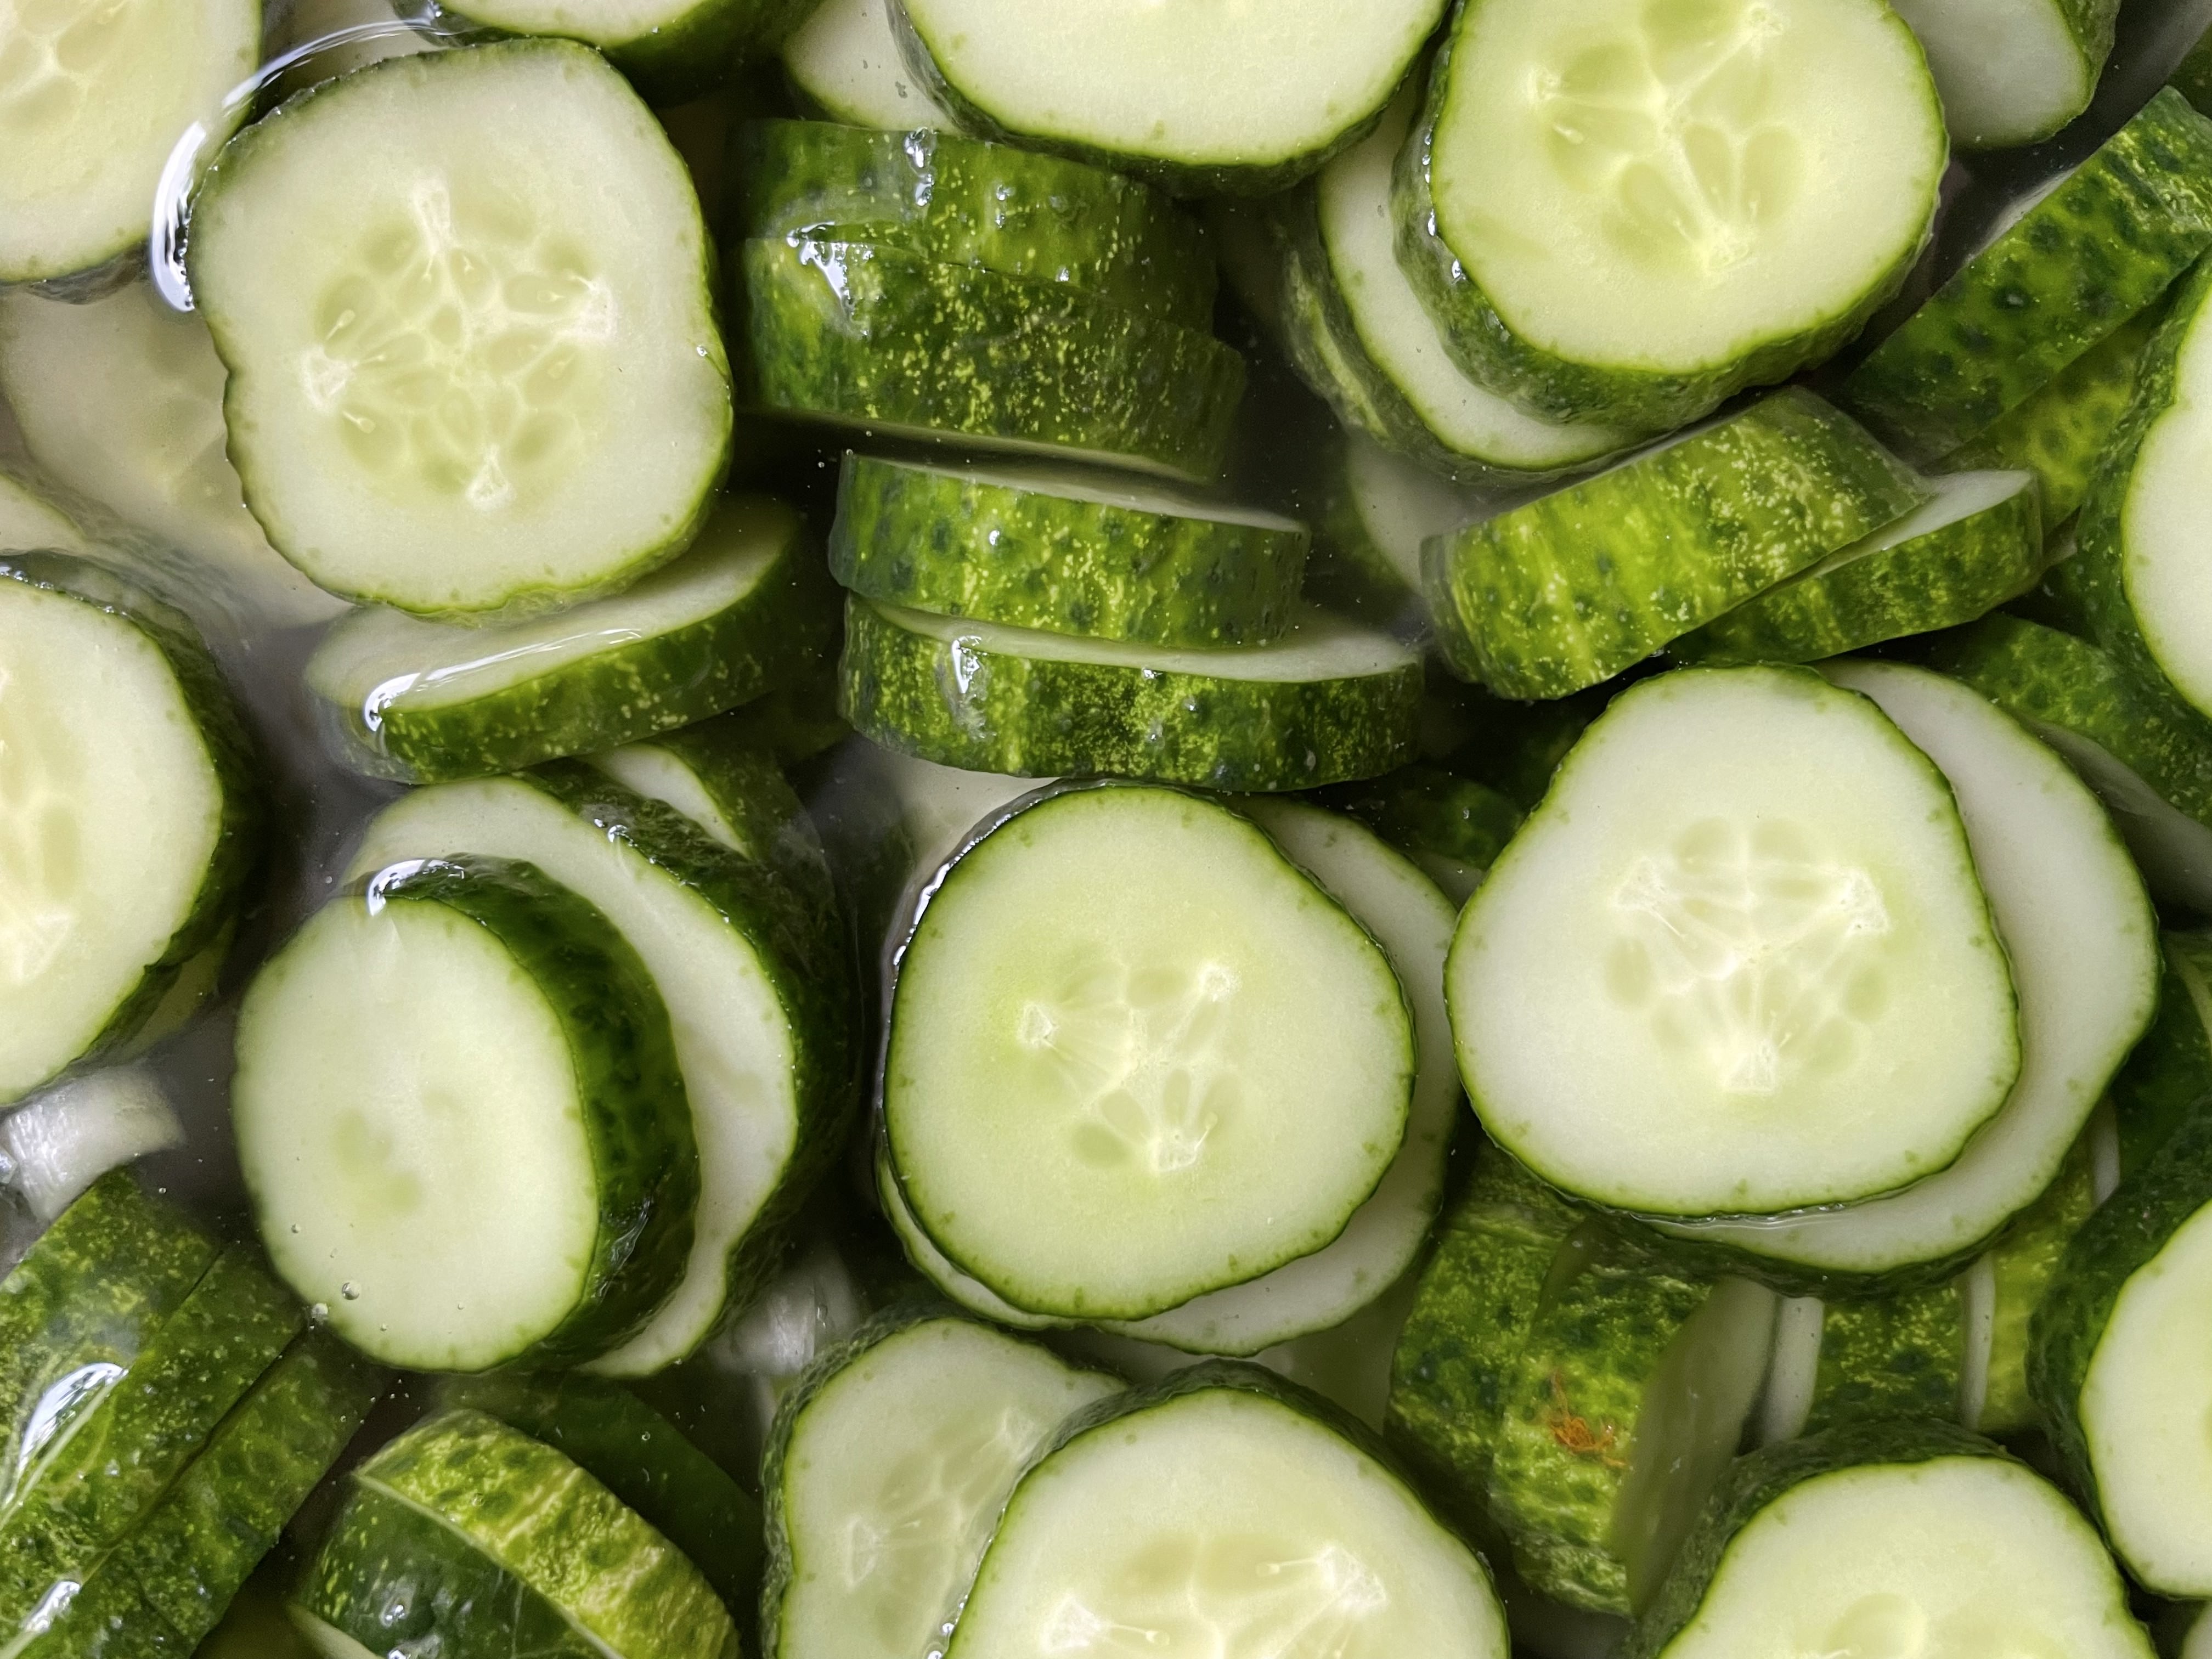
- ~1 kg small cucumbers, sliced
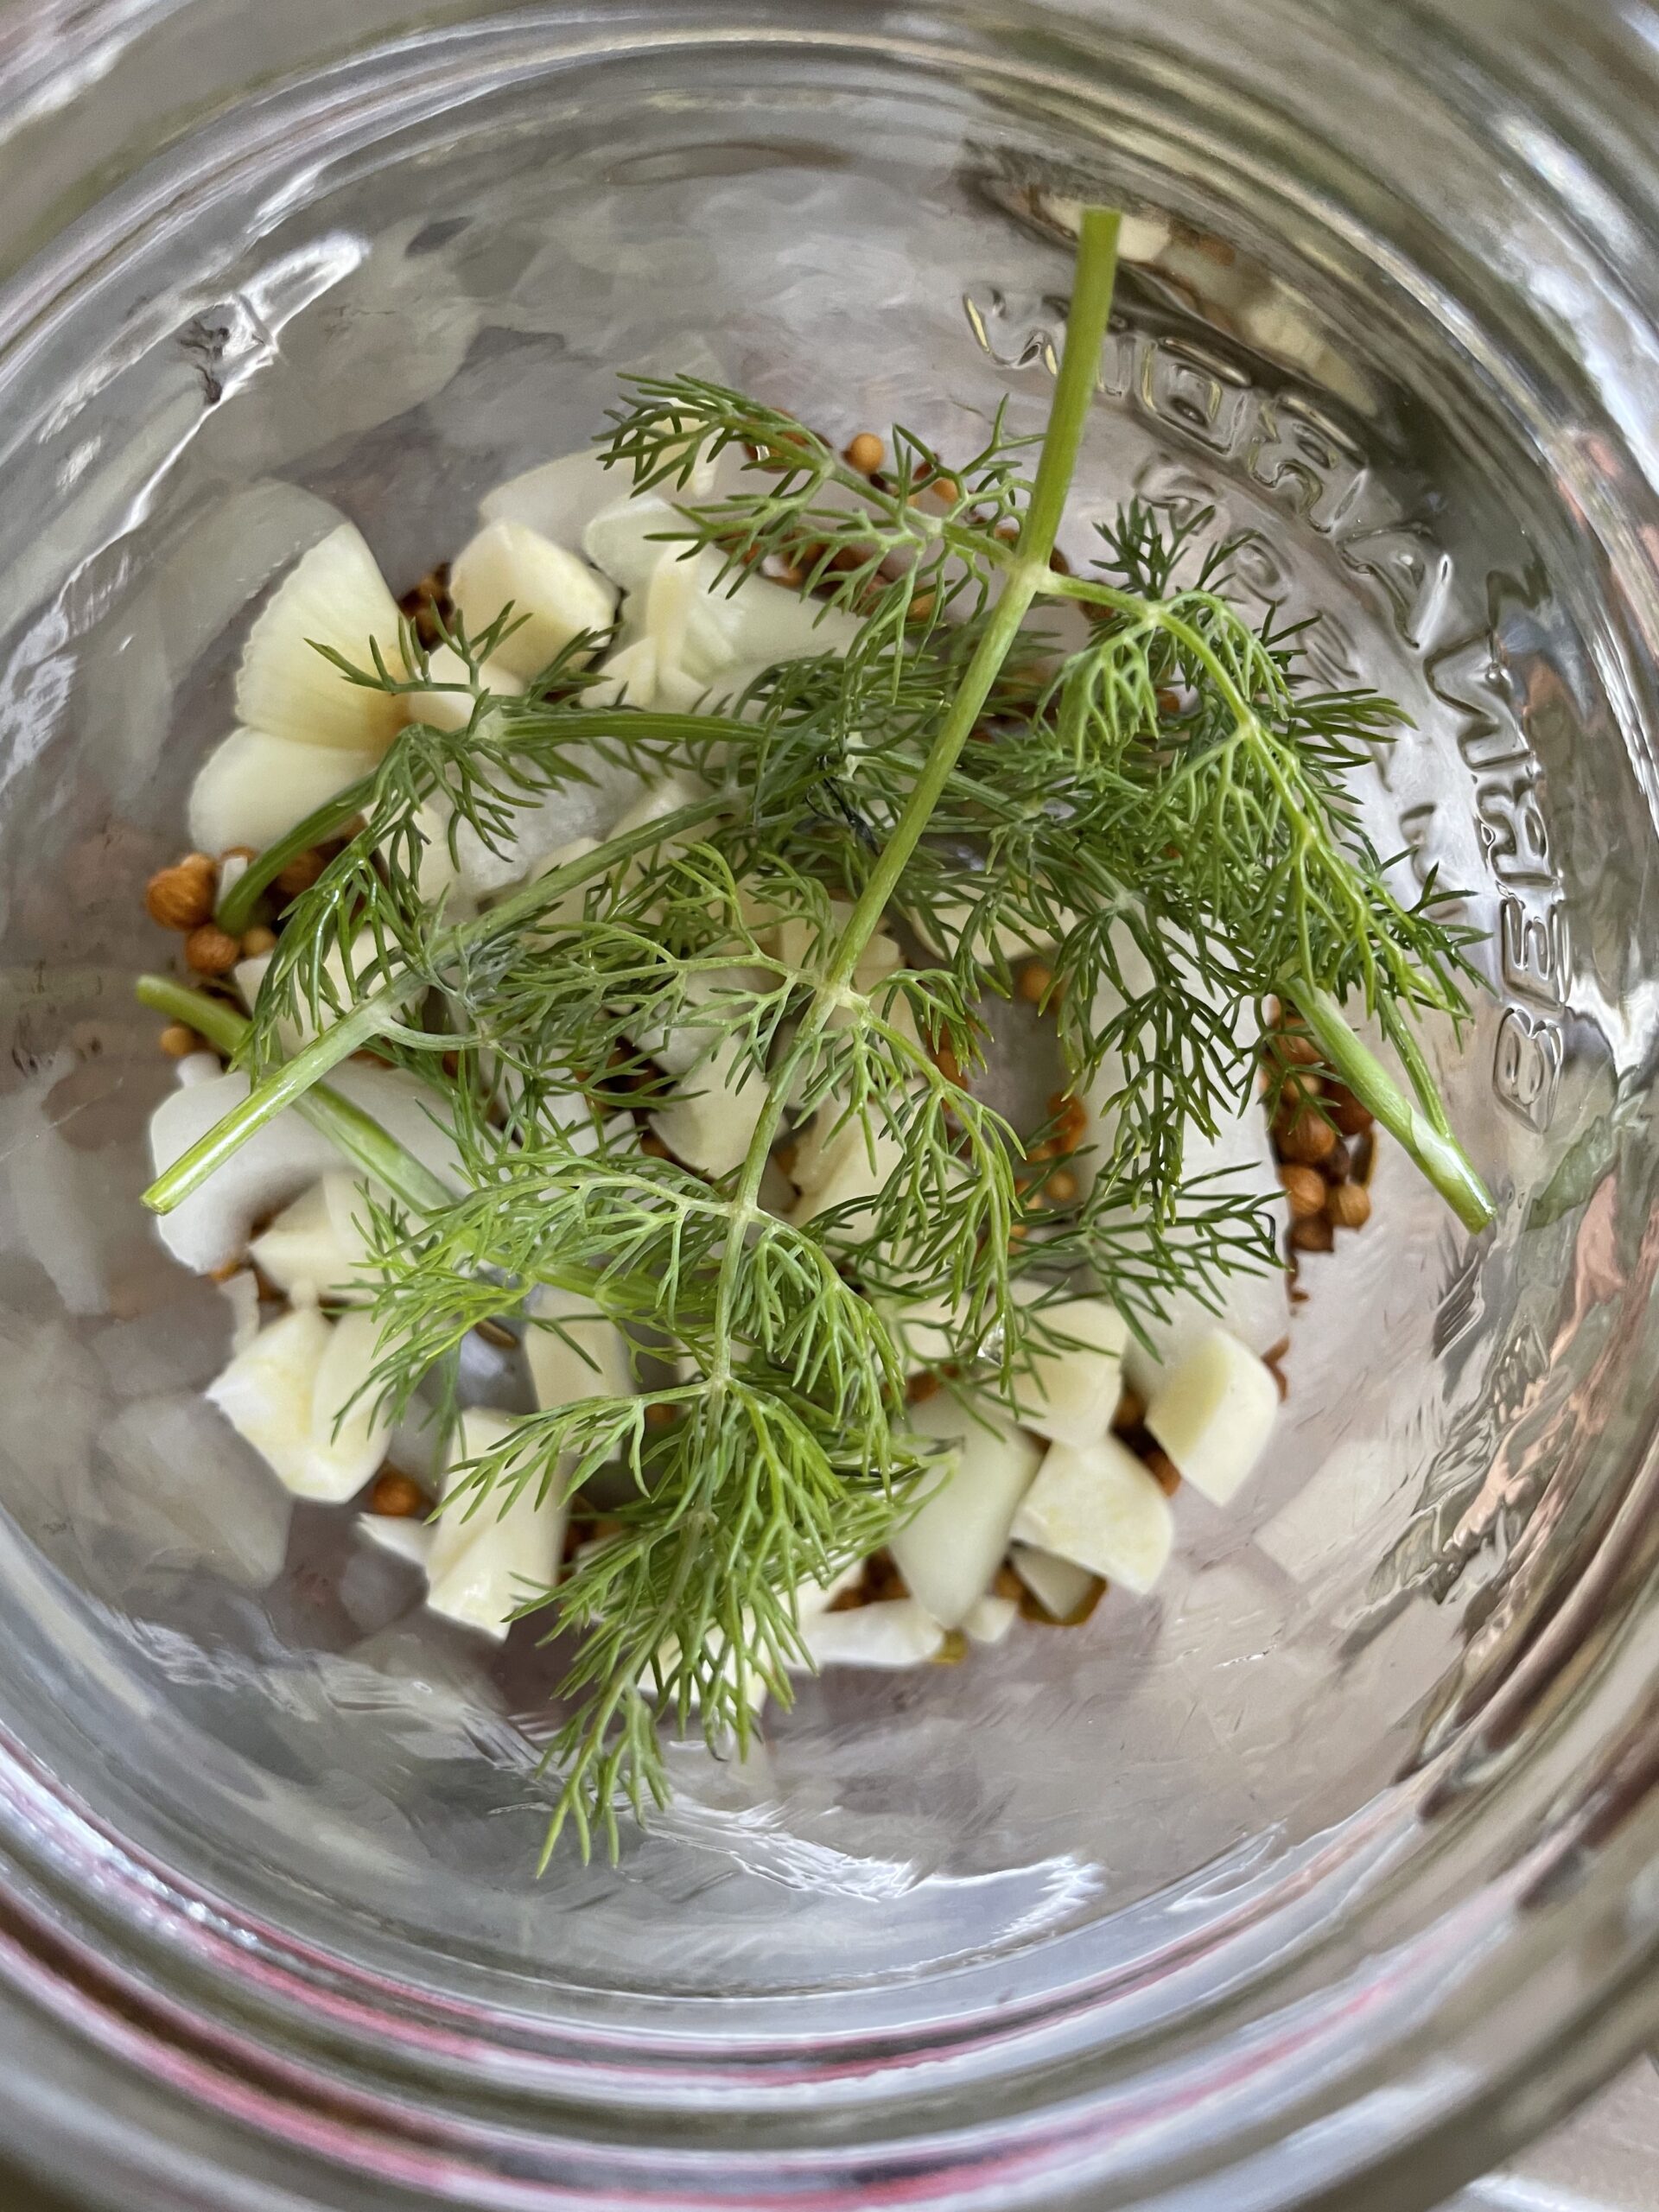
- 2 garlic bulbs, divided and cut into chunks
- 1 white onion, roughly chopped
- 1 tsp pickling salt per jar
- 1 bunch fresh dill, divided
- 1 bay or grape leaf per jar
Instructions:
1. Prepare the Brine:
-
- In a large pot on the stove, combine the water, vinegar, pickling salt, and sugar.
- Bring the mixture to a boil, stirring occasionally until the salt and sugar are completely dissolved.
- Remove from heat and set aside.
2. Sterilize Jars:
-
- Before starting, sterilize your jars and lids by placing them in a pot of boiling water for 10 minutes or running them through a hot cycle in your dishwasher. Keep them hot until ready to use.
3. Prepare the Jars:
-
- In each sterilized jar, add a pinch of pickling salt.
- Distribute the garlic chunks, onion pieces, and fresh dill evenly among the jars.
4. Fill the Jars:
-
- Pack the sliced pickles into each jar, pressing them down gently to fit as many as possible.
- Carefully pour the hot brine over the pickles, leaving about 1/2 inch of headspace at the top of each jar.
- After pouring the hot brine into the jars, use a wooden skewer to remove any air bubbles before sealing
5. Seal the Jars:
-
- Wipe the rims of the jars with a clean cloth to ensure there is no residue that could prevent a proper seal.
- Place the lids on the jars and screw on the bands until fingertip-tight.
6. Process the Jars:
-
- Place the filled jars into the empty pots.
- Fill the soup pots with warm water – just enough to cover the jars by 1 1/2 to 2 inches.
- Bring the water to a boil and let it boil vigorously for 15 minutes.
- Start your timer once the water reaches a rolling boil.
7. Cool the Jars:
-
- After 15 minutes, carefully remove the jars from the water bath using jar tongs.
- Place the jars on a tea towel or cooling rack on the counter, making sure they are not touching each other.
- Leave the jars undisturbed for 12-24 hours to cool completely and seal. You should hear the lids “pop” as they seal.
8. Store:
-
- Once the jars are sealed and cooled, store them in a cool, dark, dry place.
- Allow the pickles to cure for at least 3 weeks before consuming for the best flavor.
There are countless ways to serve and savour your homemade pickles – with cheese and crackers, in potato salad, or as a delightful snack on their own!


